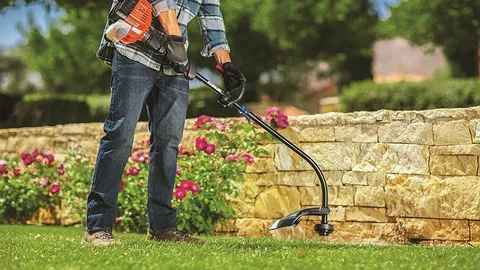
Keeping your lawn neat and tidy often means reaching for your electric string trimmer. But when the line runs out or breaks, it can bring your yard work to a halt. The good news? It’s easier than you might think to get back on track. In this guide, we’ll show you how to replace the line on an electric string trimmer in 3 easy steps so you can get back to trimming in no time.
Why Replacing the Trimmer Line Matters
The line on your electric string trimmer is what does all the cutting. Over time, it wears down or snaps completely. Replacing it ensures that your trimmer operates efficiently and cuts cleanly. Whether you’re a beginner or have some experience, learning how to replace the line on an electric string trimmer in 3 easy steps can save you time and frustration.
Tools and Materials You’ll Need
Before diving in, gather these items:
- Replacement trimmer line (check your model for the correct size and shape)
- Scissors (for cutting the line)
- A flat surface to work on
Some models may have a pre-wound spool option, while others require manual winding.
Step 1: Remove the Spool Cap
Most electric string trimmers have a spool cap located at the bottom of the trimmer head. To access the spool:
- Unplug the trimmer or remove the battery for safety.
- Press the tabs on either side of the cap to release it.
- Carefully lift off the cap and set it aside.
- Remove the empty or worn-out spool.
Step 2: Wind the New Line
Now it’s time to prepare your new line:
- Cut a length of replacement line as specified in your trimmer’s manual (typically 10–25 feet).
- Insert the line into the hole or slot on the spool.
- Wind the line in the direction of the arrows printed on the spool.
- Leave 5–6 inches of line free on both ends if your trimmer uses a dual-line feed.
Make sure the line is wound evenly and tightly to avoid tangling during use.
Step 3: Reassemble and Test
With the new line in place:
- Thread the free ends of the line through the eyelets on the trimmer head.
- Carefully place the spool back into the housing.
- Snap the cap back on securely.
- Plug in the trimmer or reattach the battery.
- Test the trimmer by turning it on briefly to make sure the line feeds correctly.
You’ve just learned how to replace the line on an electric string trimmer in 3 easy steps — and you’re ready to tackle the yard again.
Final Tips for Easy Line Replacement
- Always use the correct type and size of line for your trimmer model.
- Keep extra line on hand so you’re never caught without it.
- Clean the trimmer head regularly to prevent debris buildup.
Learning how to replace the line on an electric string trimmer in 3 easy steps can save you time and extend the life of your tool. With just a few minutes of effort, your trimmer will be ready to go whenever you need it.
Conclusion
Now that you know how to replace the line on an electric string trimmer in 3 easy steps, maintaining your yard will be much simpler. Regular upkeep not only improves performance but also ensures your tool lasts longer — and stays ready for the next round of trimming


